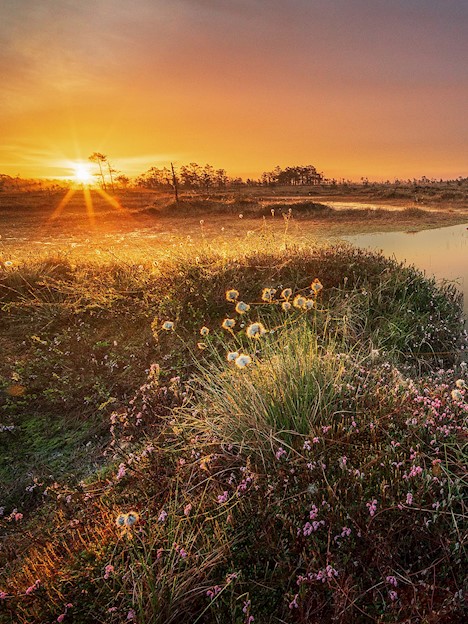
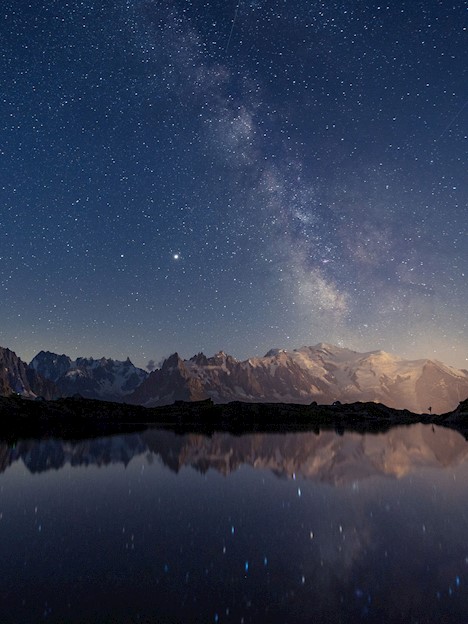
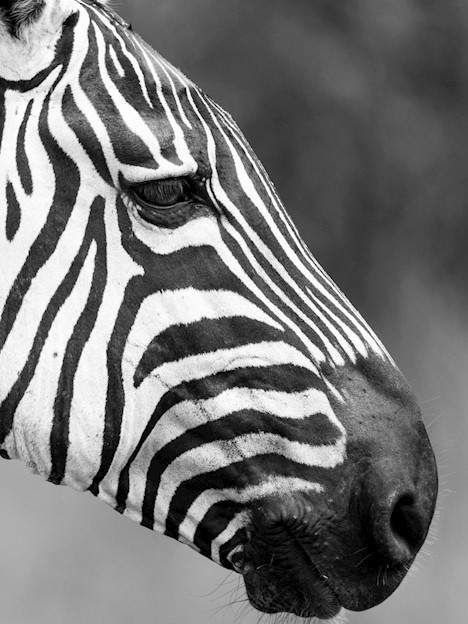
All photos by Michael Molter
As a landscape photographer I love to be out in nature, so for me it makes sense to get my images right in the camera as much as I can, allowing me more time out in the environment and less time behind the computer screen fixing them. Using filters allows me just that.
I use filters in my photographic work for three main purposes;
- To correct unwanted effects of light, such as reflections which can removed by the use of a Circular Polarizing Filter. Or color cast from artificial Light at night which can be reduced by the use of NiSi Natural Night Filter.
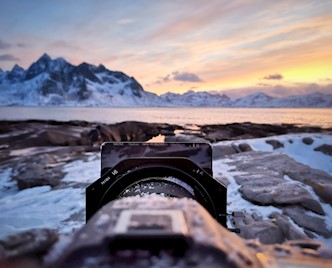
- To balance the exposure of the entire image by control of light in selected local areas via the use of Graduated Neutral Density (GND) filters.
- To add a creative element to my images by controlling the exposure time.
Circular Polarizing Filters (CPL)
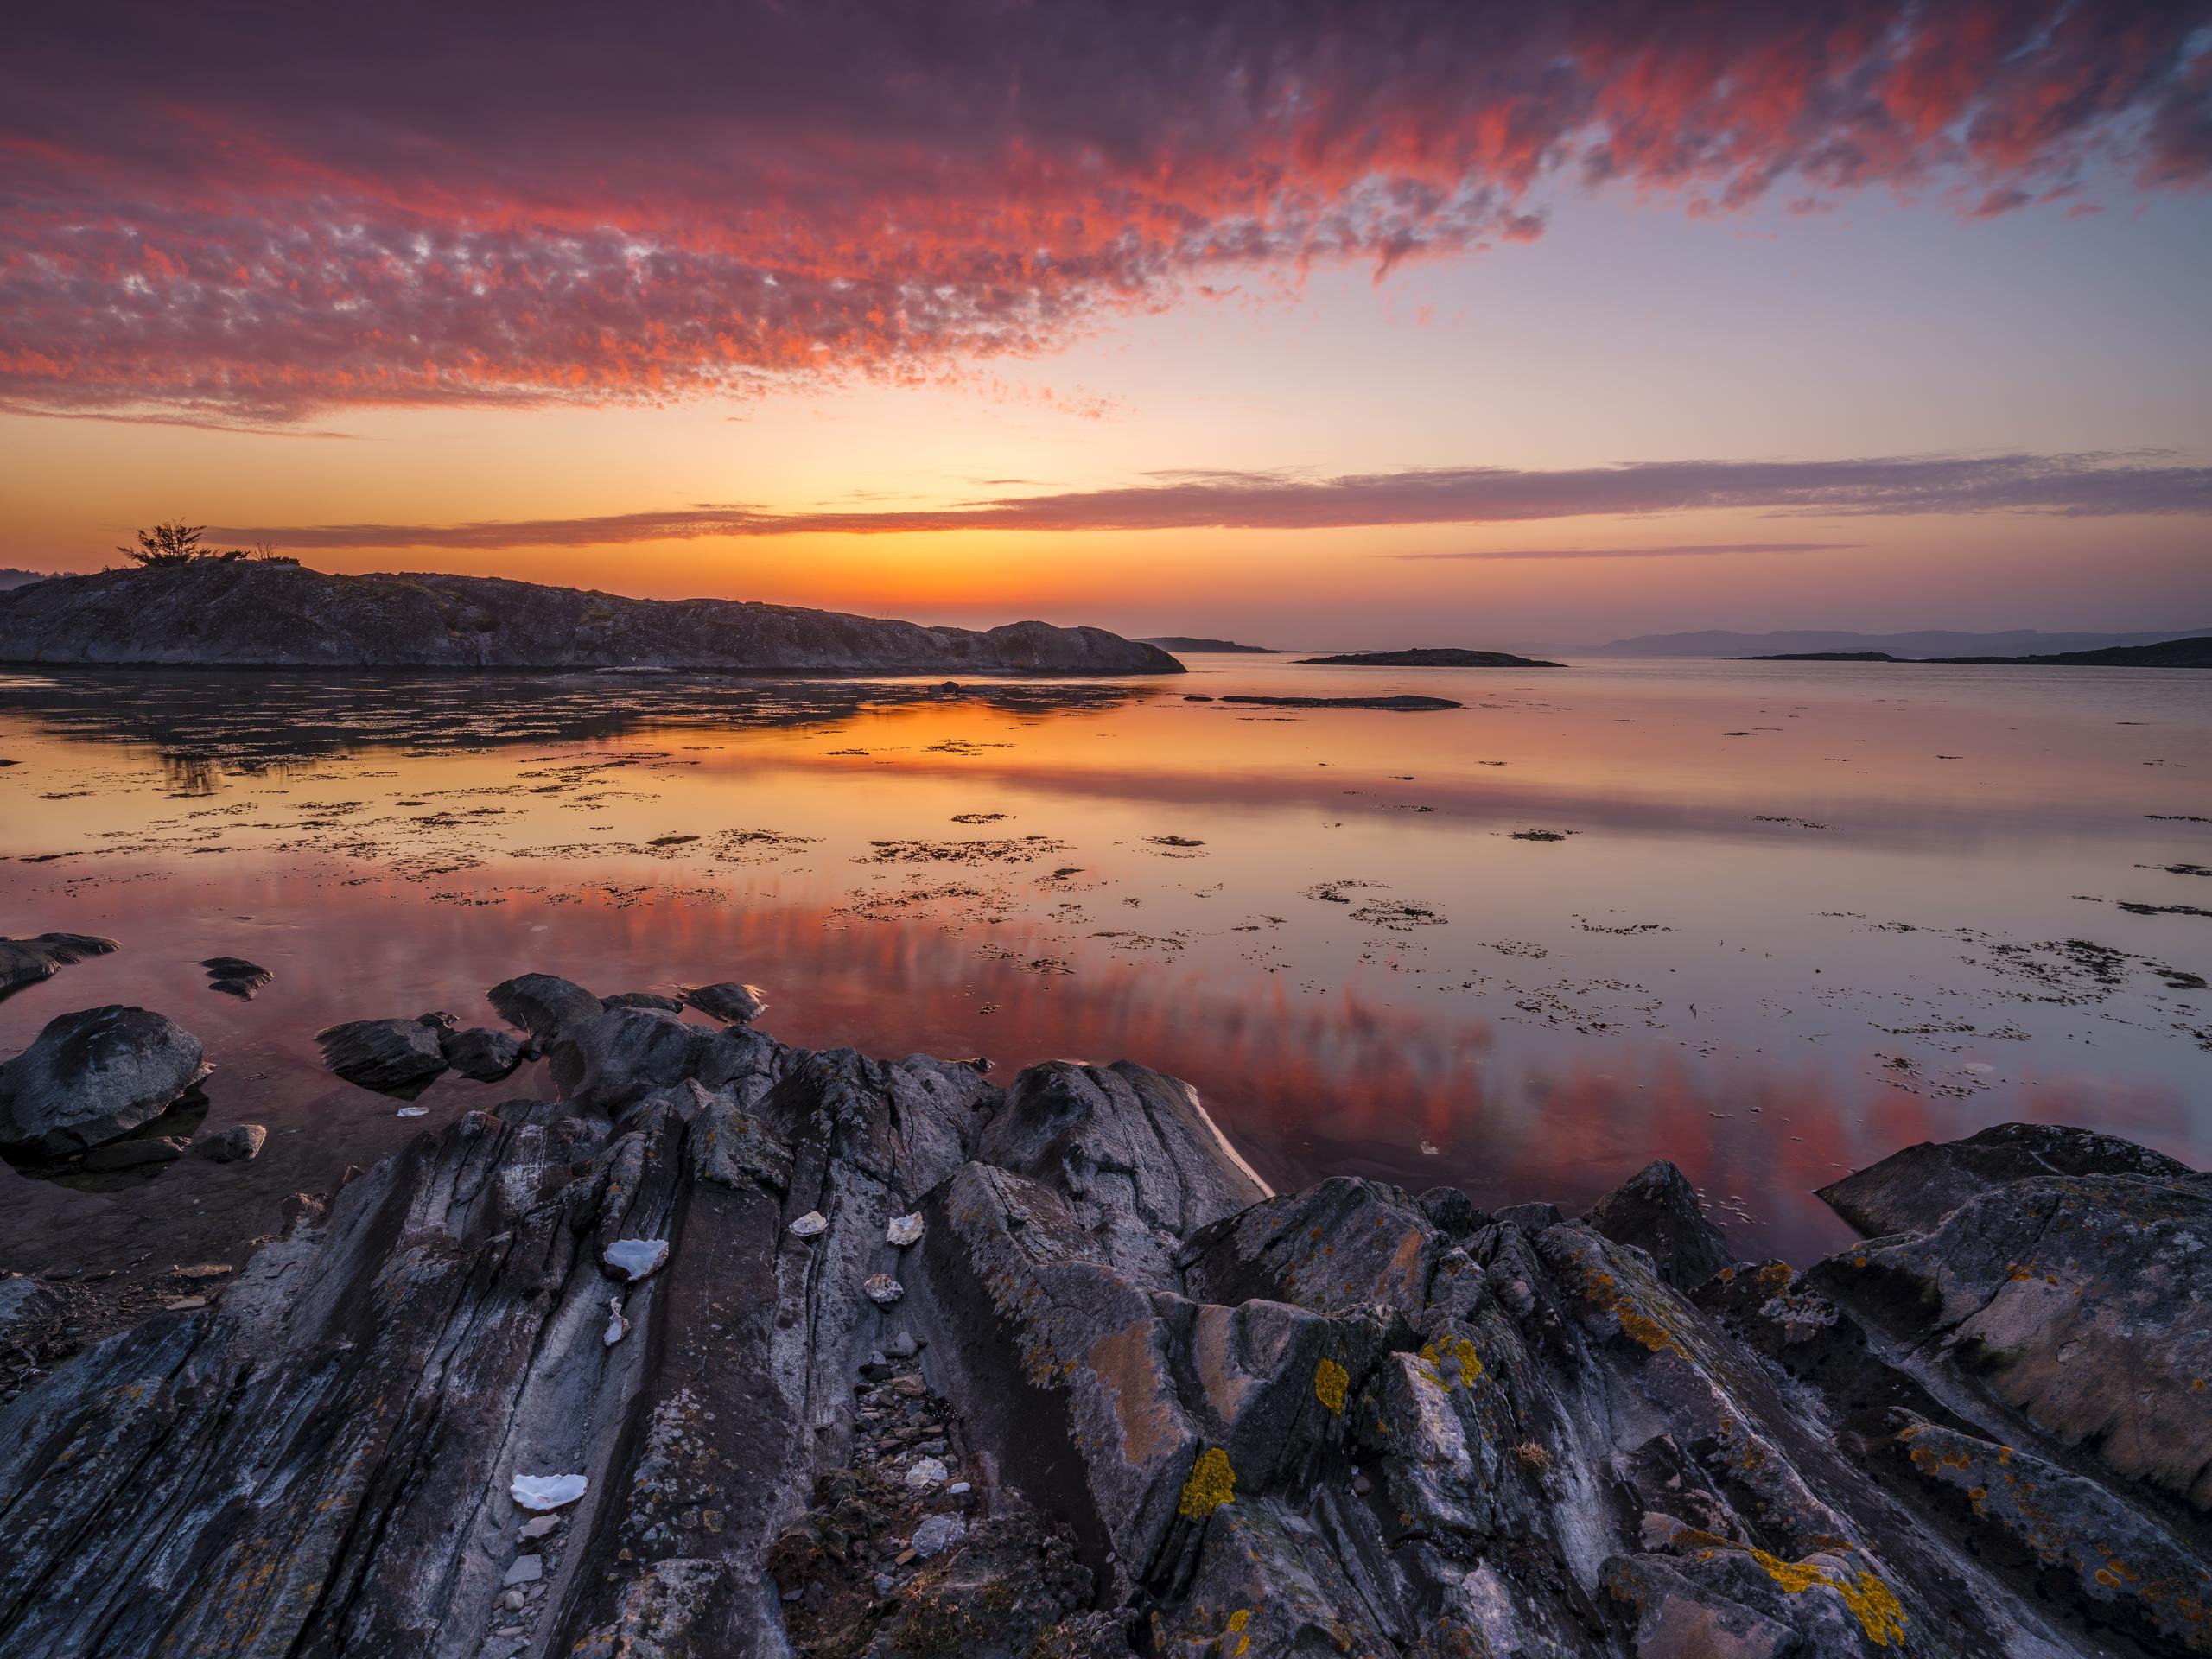
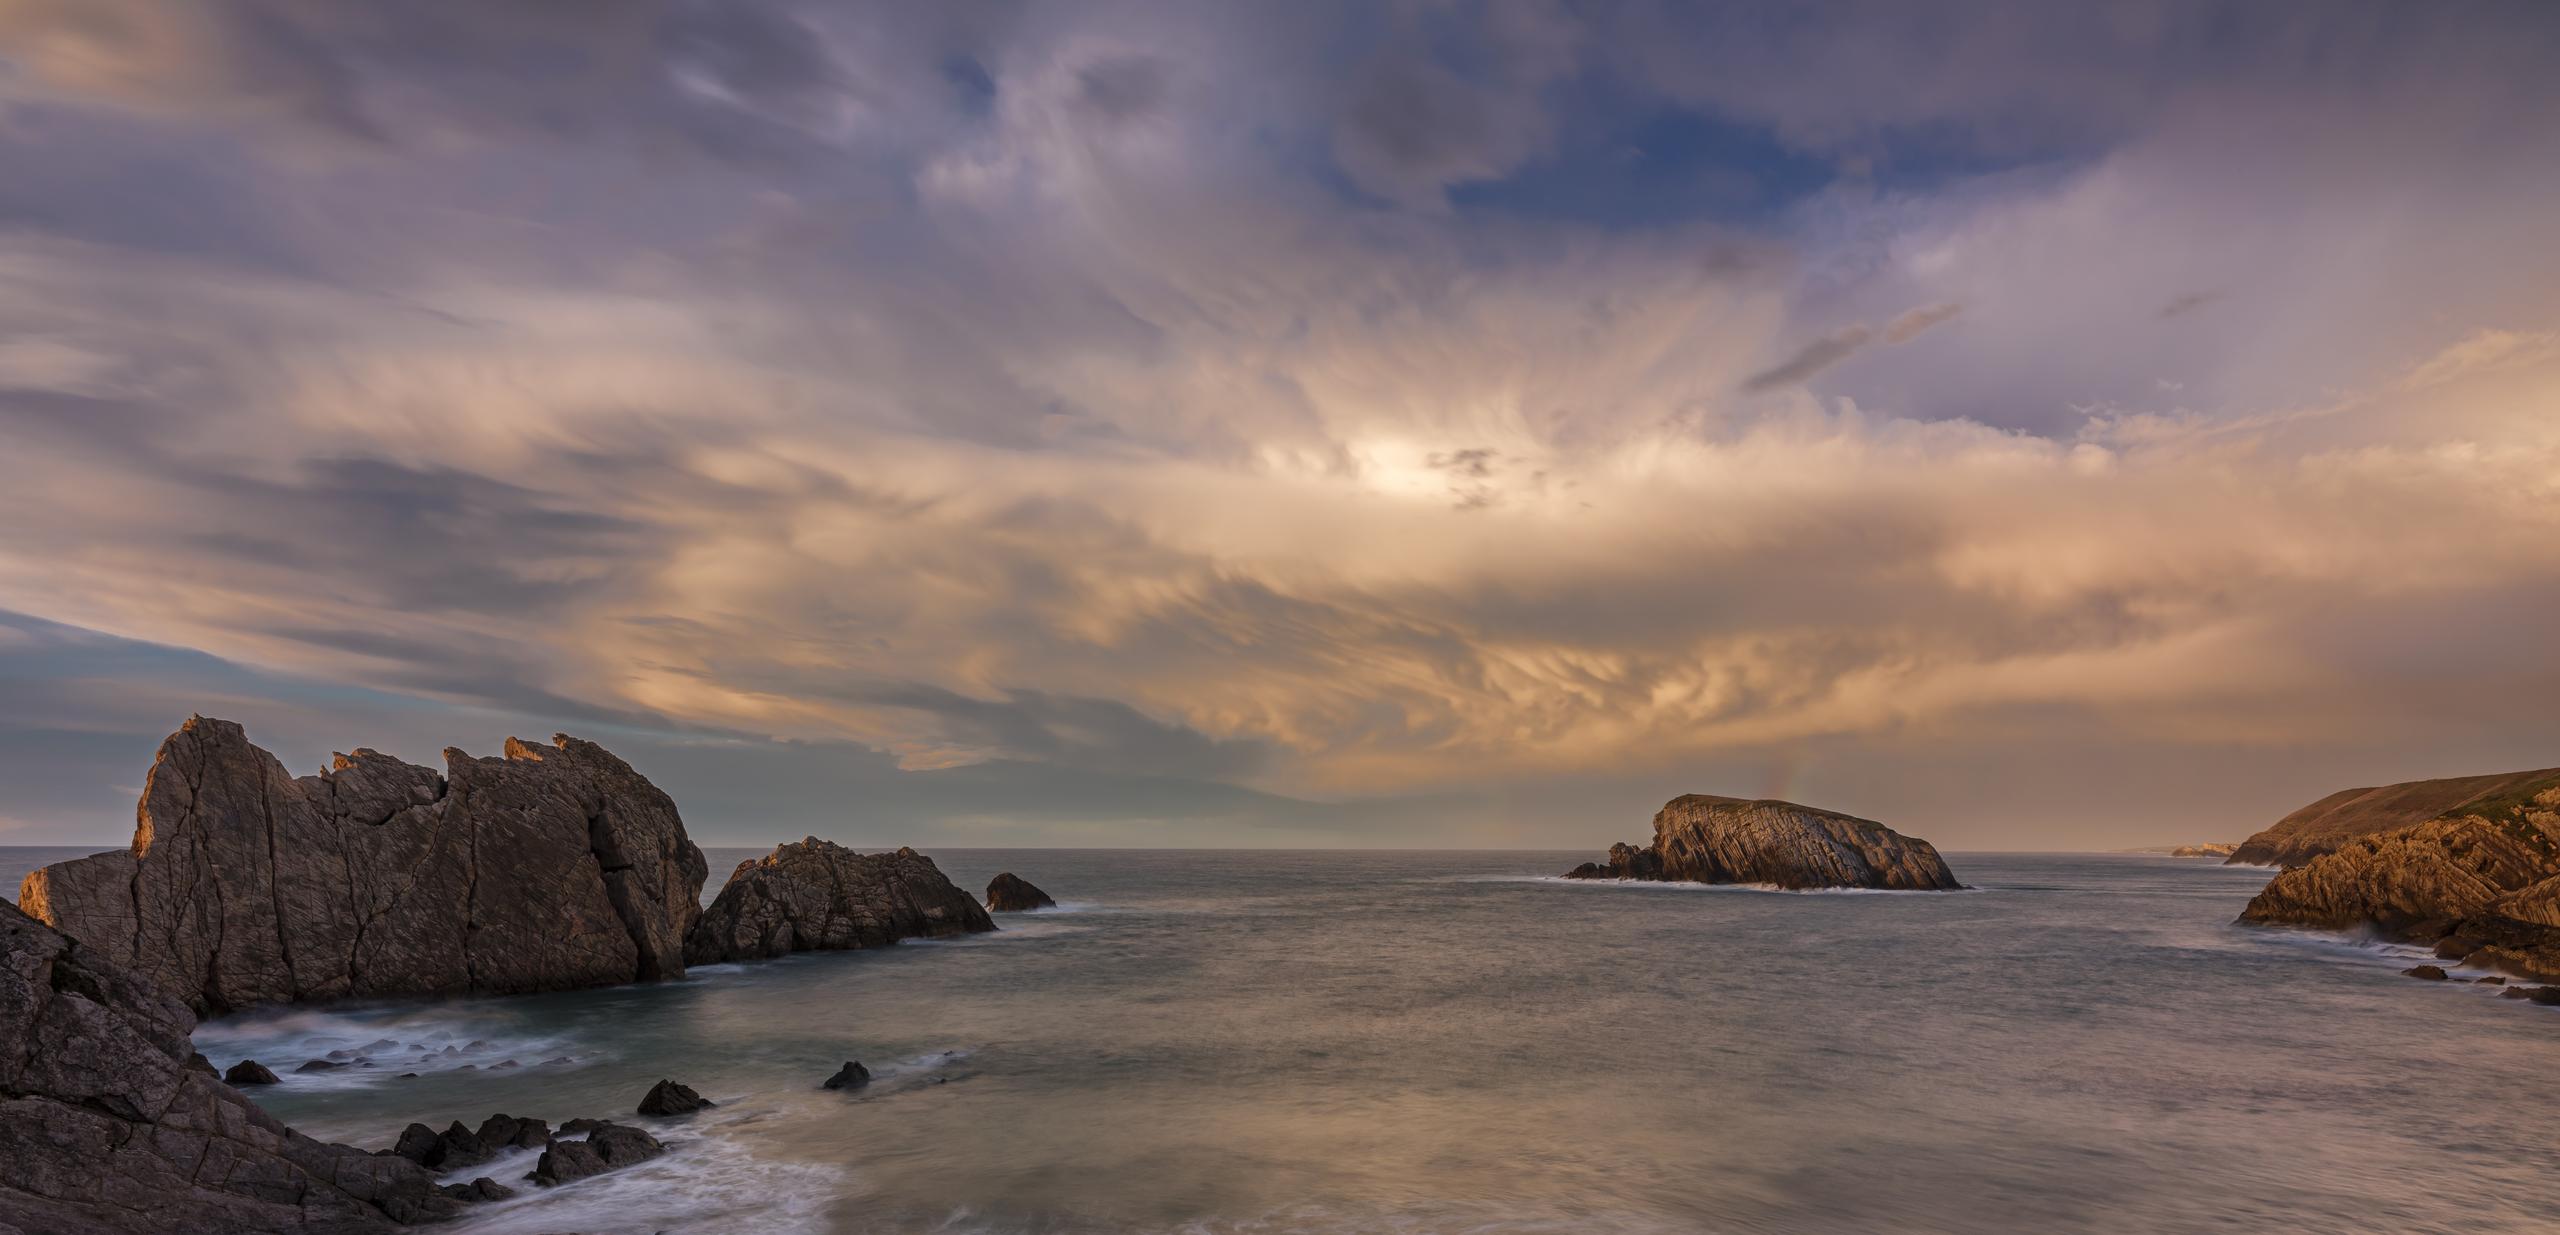
This will be one of the most important filters in your camera bag. What this filter does cannot be created in post editing on the computer. Reducing reflections, darkening the sky and improve the contrast and color is the effect we strive for and CPL helps us with.
My favorite CPL is the NiSi Landscape CPL NC, both because of the Nano Coating (NC) which makes it easy to keep clean, but also as it improves clarity and color saturation in my landscape photography.
Tip – be extra careful with the upper part of the sky so it does not become too dark, especially on wide angle lenses. Also evaluate the level of reduction you want to apply to reflection on water and other surfaces.
Graduated Neutral Density Filters (GND)
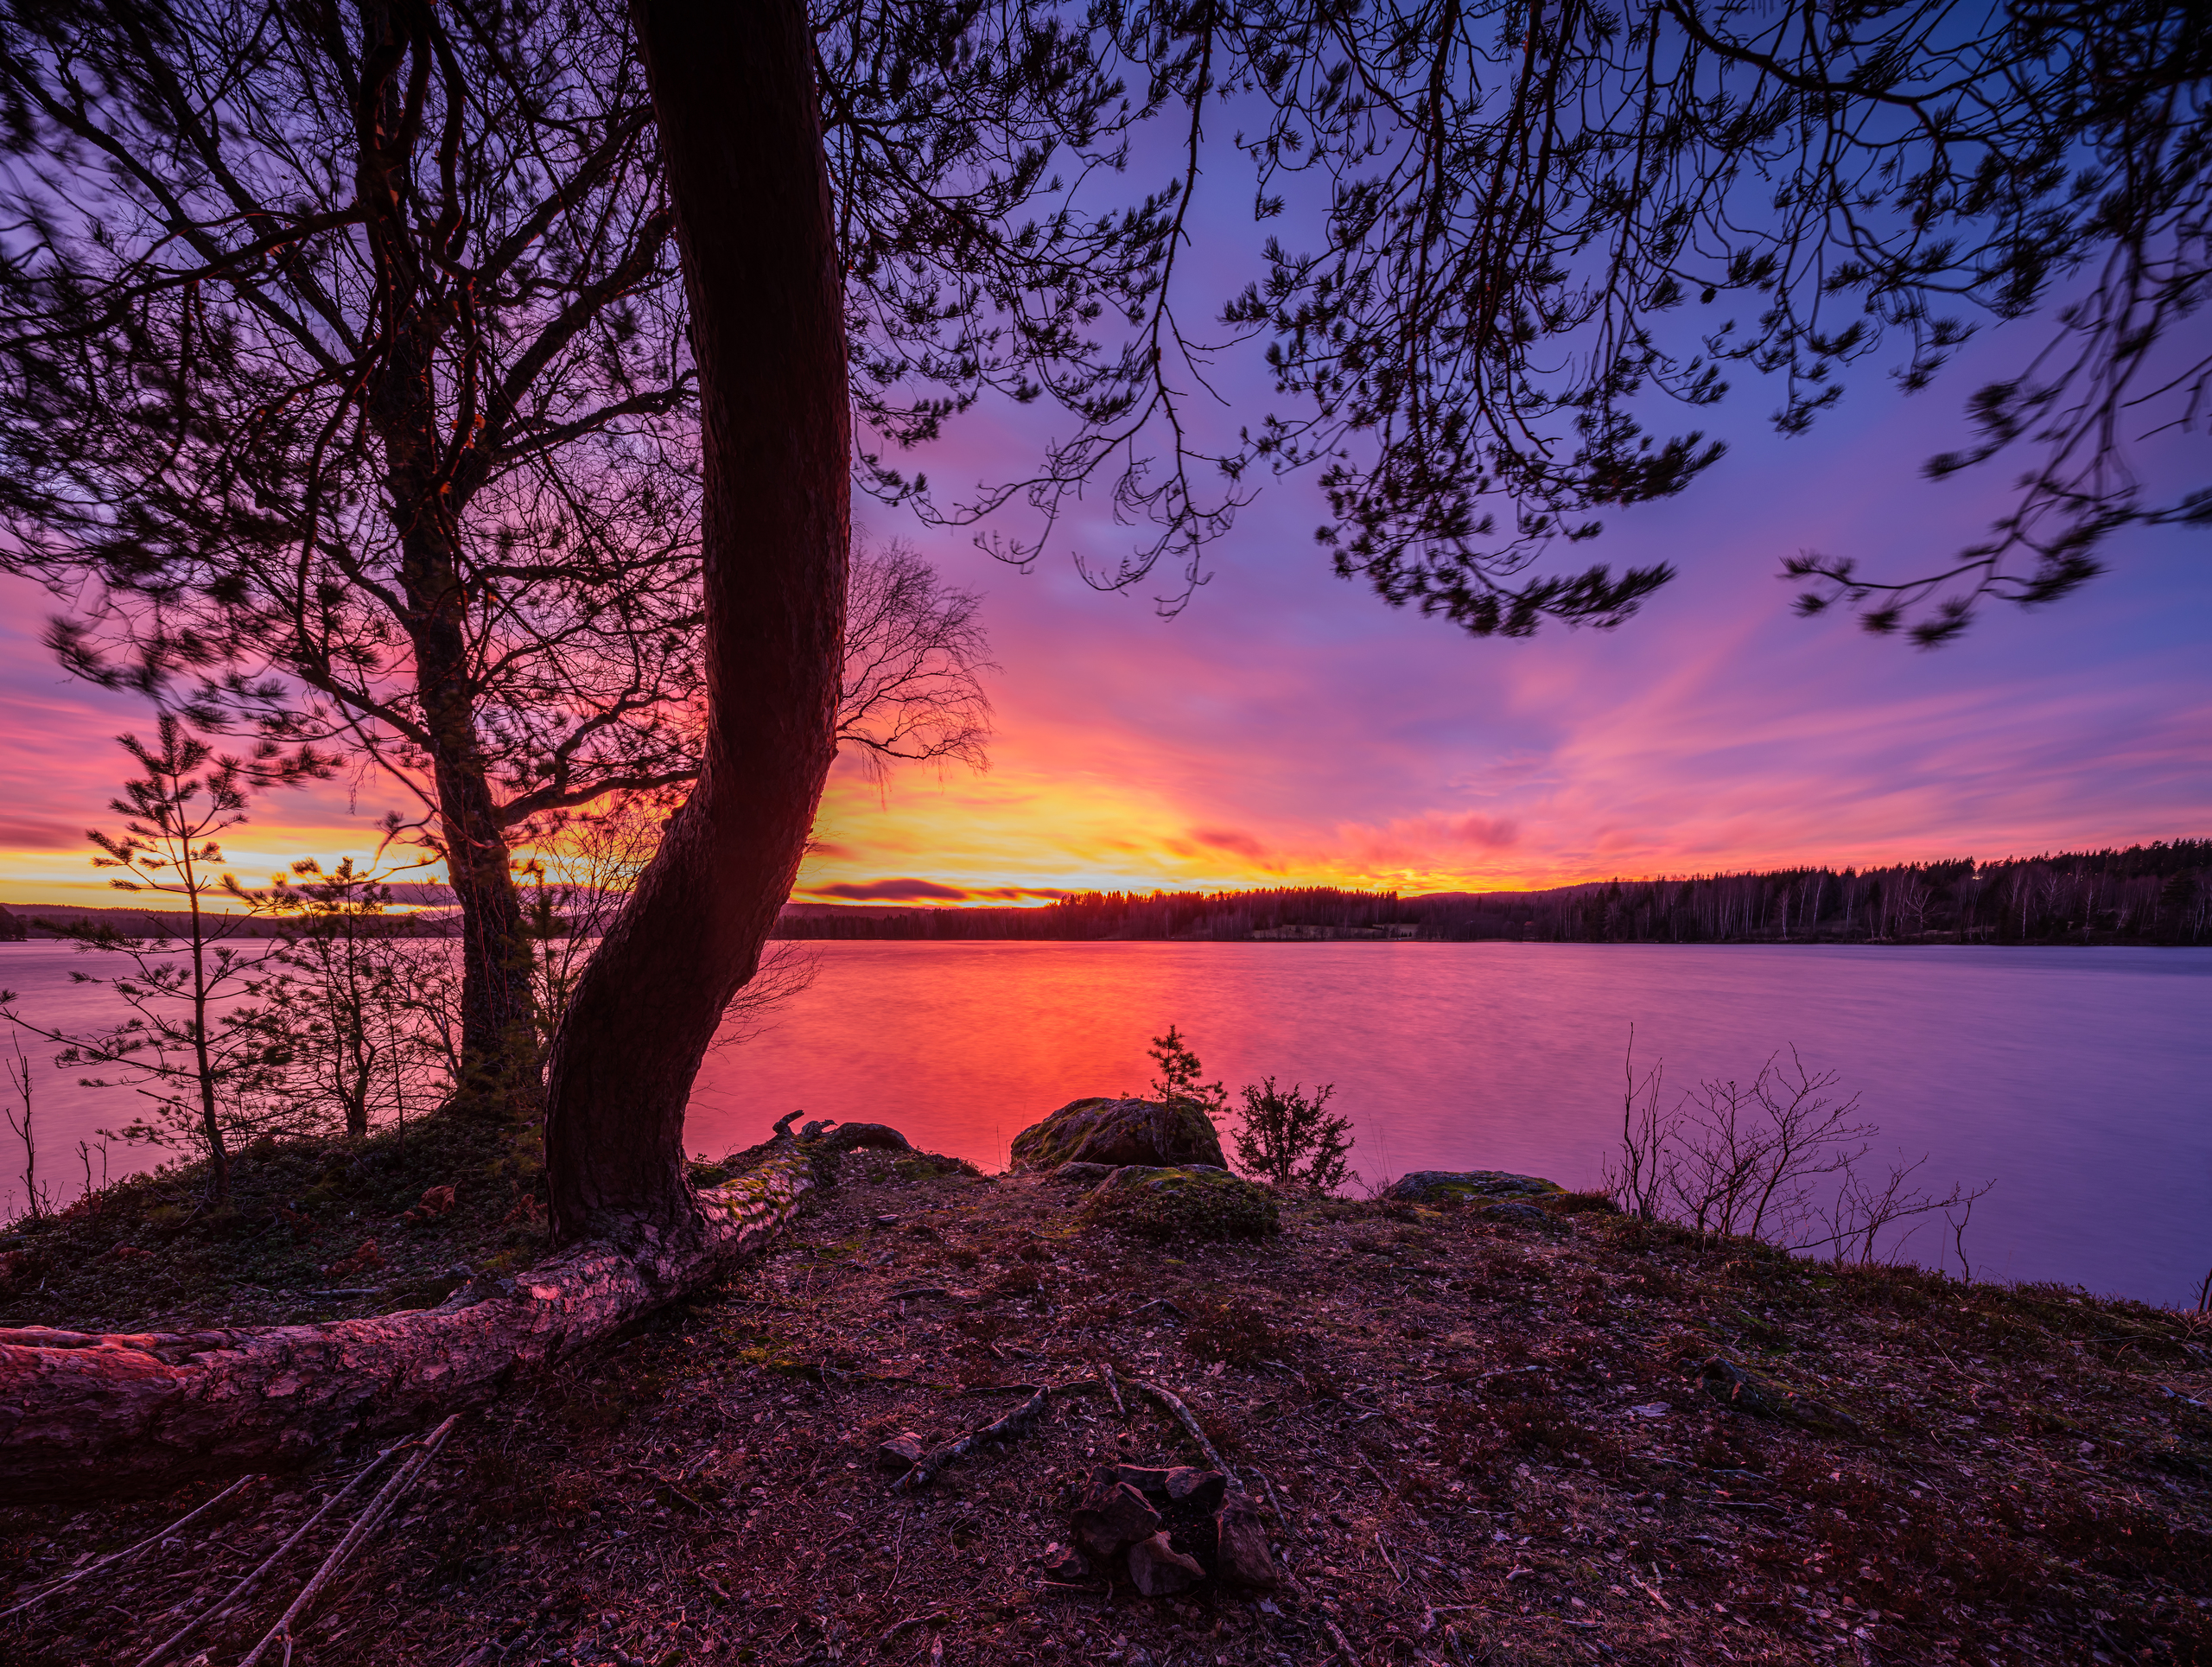
As landscape photographers we often capture our images at the time of day when light is in the transition phase between day and night, sunrise and sunset, a time when the sun is low and directional with intense colors of warm and cold. In such situations of low light, the challenge is to find a way to balance our exposure so that we may capture the deep shadow of the land in front of us while avoiding overexposure of the lighter sky part of the image.
My Favorite GND is the Medium 3 stop which is my most used, however, I do carry both soft, medium, hard and reverse GND filers in 2,3 and 4 stops. But should I choose only one, it would be the 3 stop Medium which is fantastic in most situations I encounter.
Tip – you must pay attention to parts of your image protruding into the area where the GND is reducing the amount of light reaching the sensor, such as trees and mountain tops. There will be situations where you will have to make a choice of either compensating in post editing or try to make several exposures and blend them in Photoshop. I tend to let fixing in Photoshop be my last resort, maximizing the time out in nature.
Neutral Density Filters (ND)
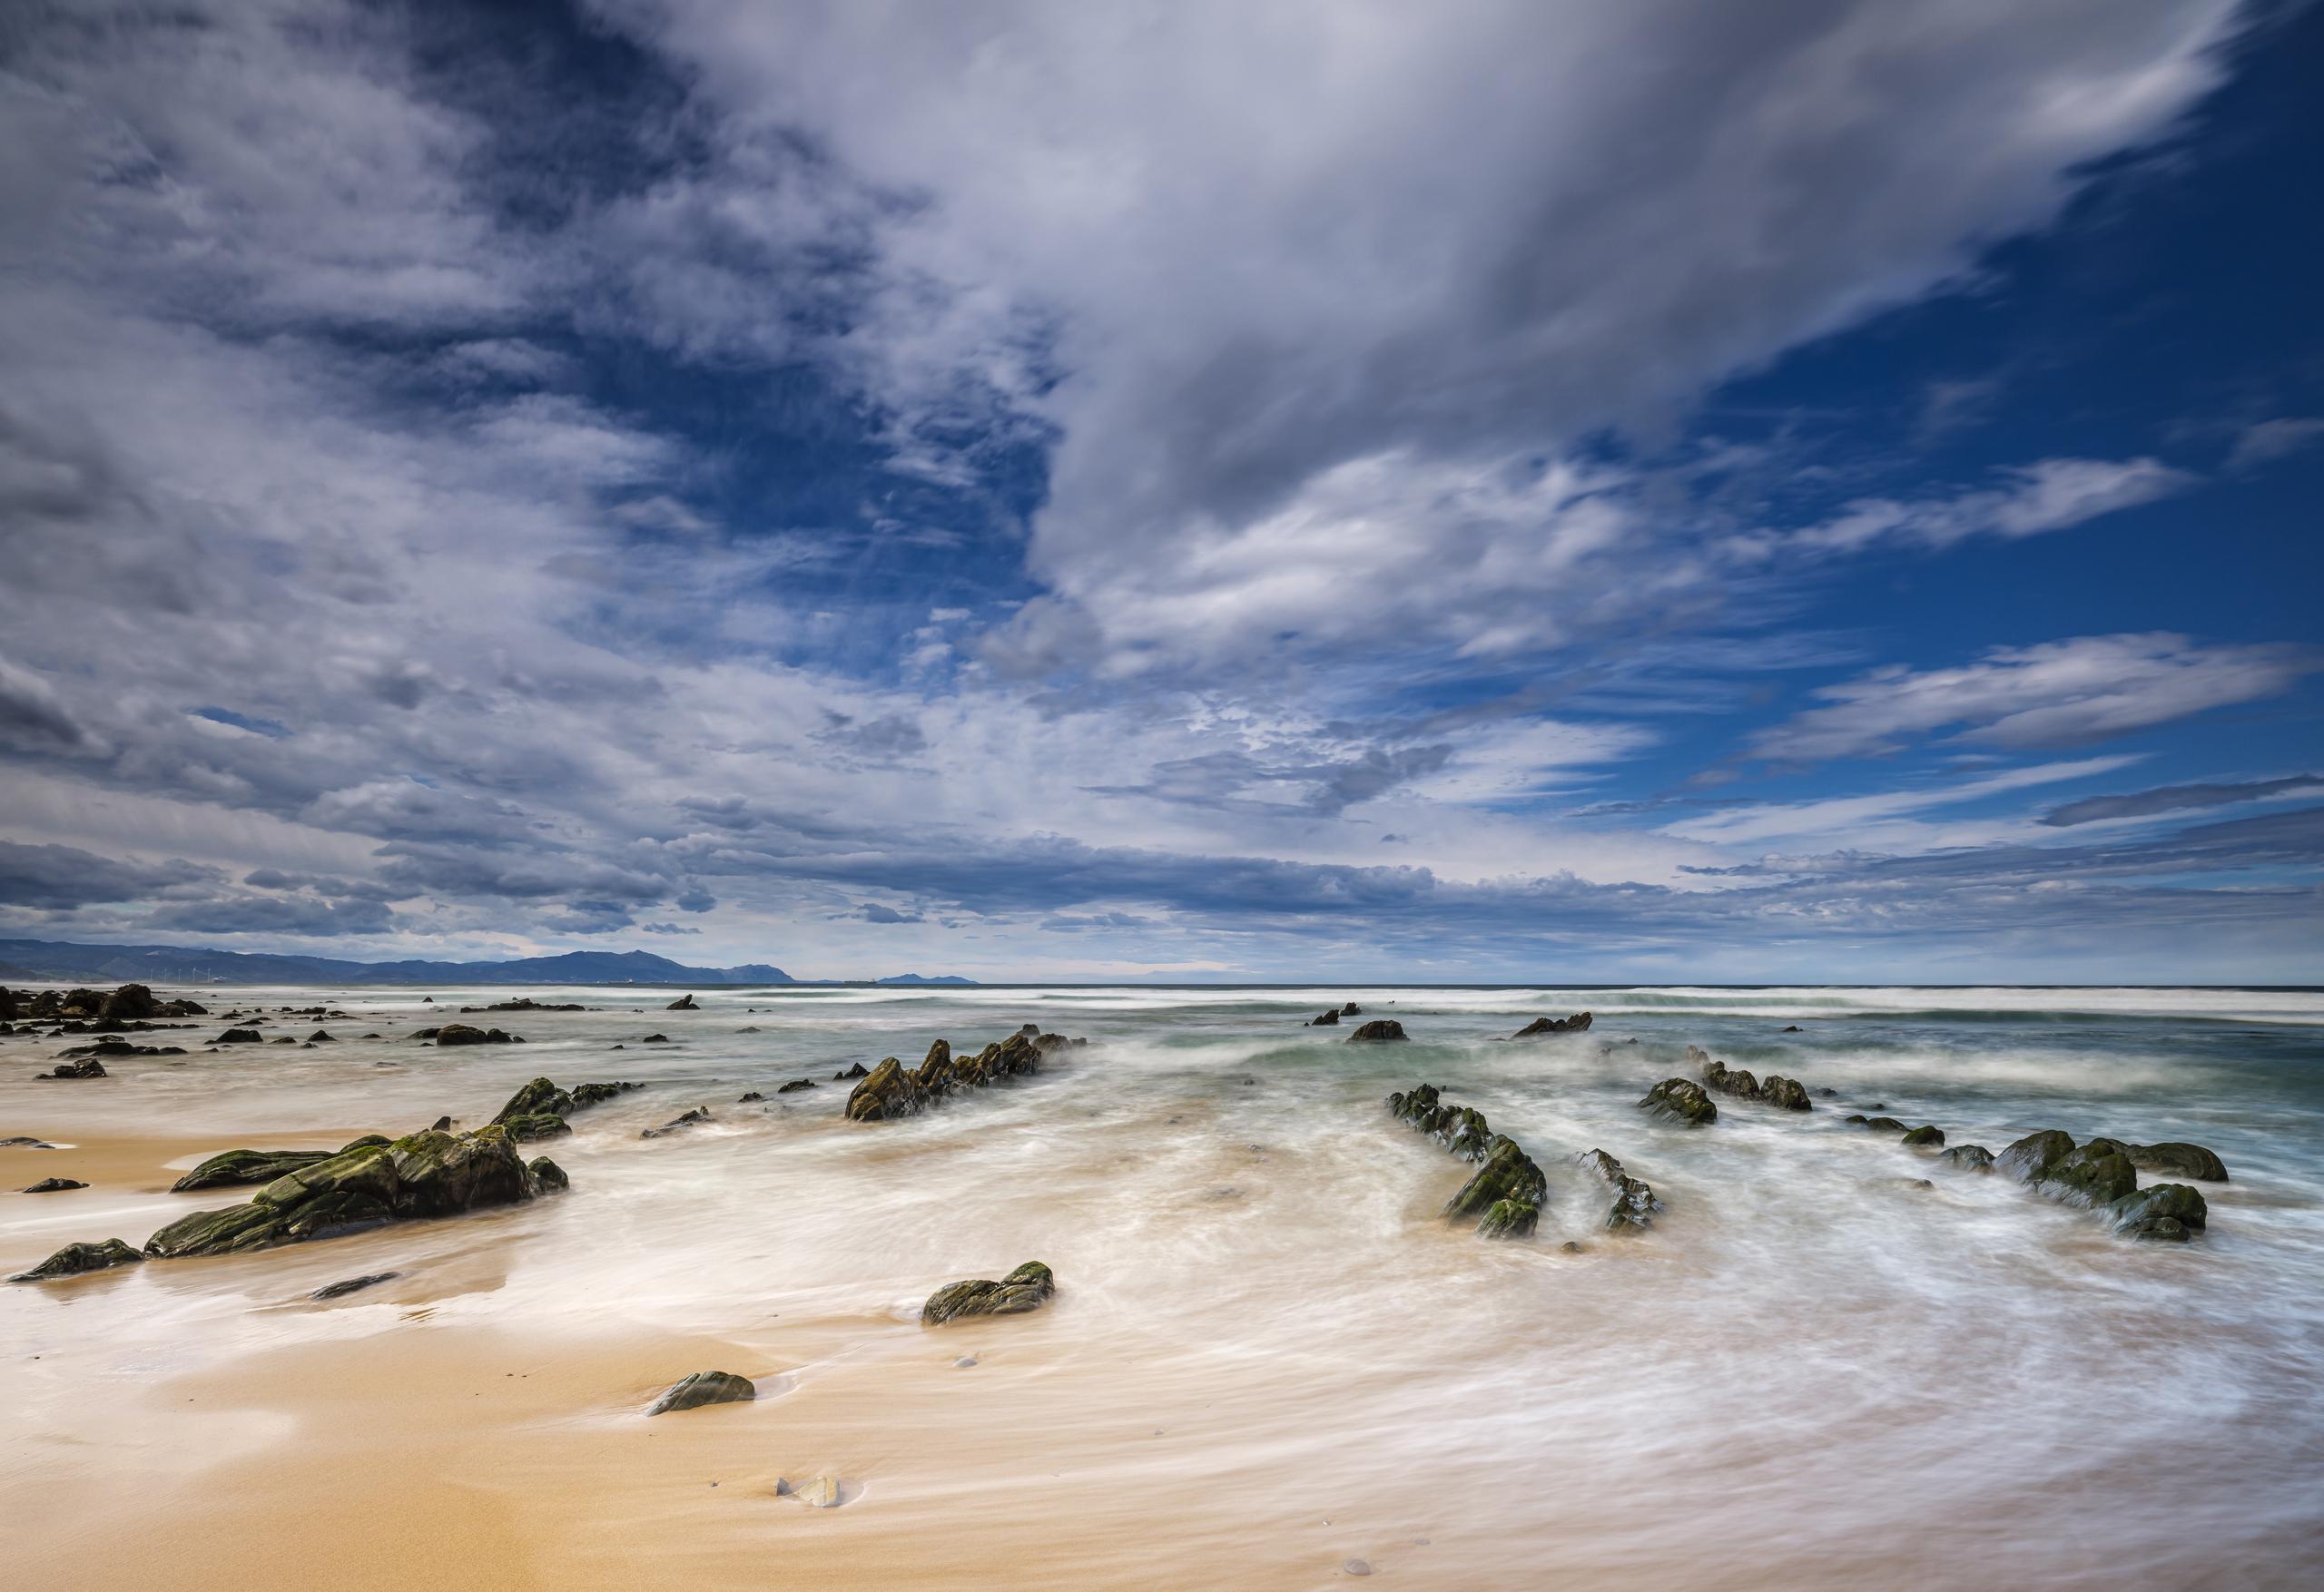
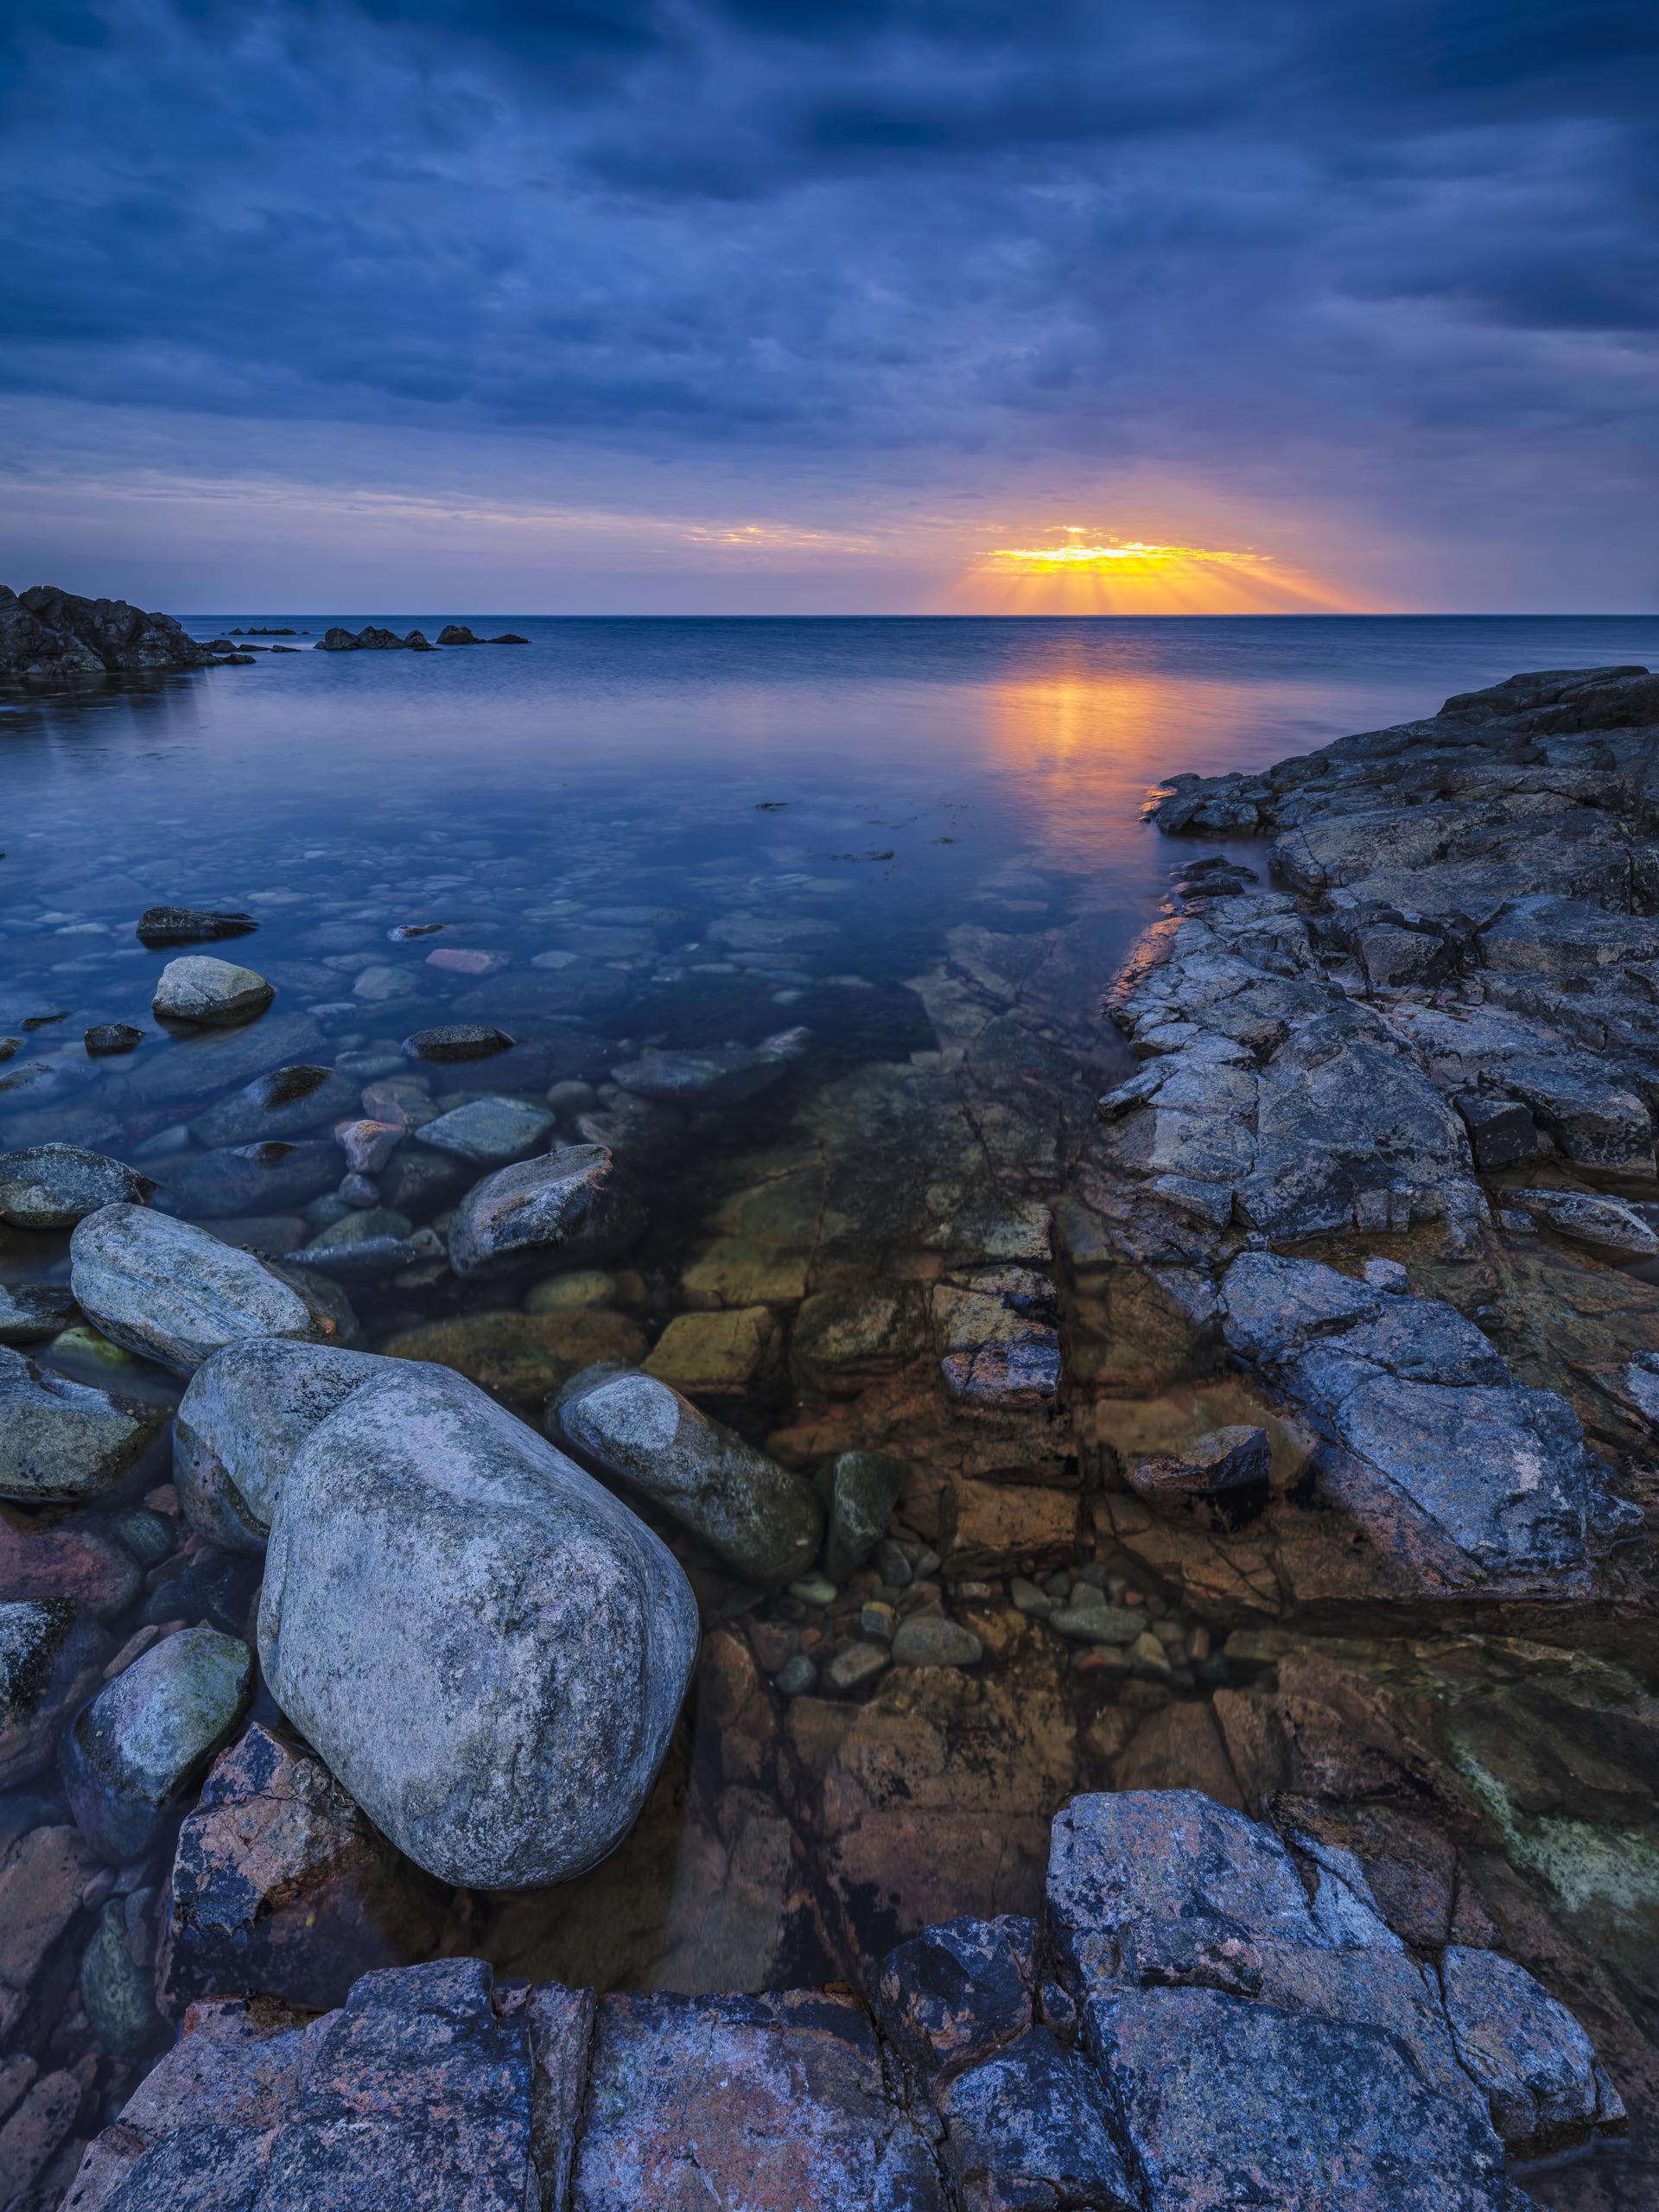
Neutral Density Filter serves really only serve one purpose; to reduce the amount of light that reaches the sensor, thereby increasing the exposure time. Controlling the exposure time allows me to add creative elements in my images, by adding time as the fourth dimension and thereby enabling me to capture the otherwise unseen.
Coastal Landscapes and Waterfalls are amongst my favorite subjects to photograph and especially here I find great opportunity to create an expression by varying the exposure length with the help of ND filters to get exactly the feeling to my images that I prefer.
My Favorite ND filter is the 6 stops, but it is very limiting to only have one ND filter, as different situations requires different level of reduction of light, so I also use 3, 10, 2 and 15 stops ND filters (in the order of most important).
Tip - try and be aware of moving subject and the pattern they form over time so that you can capture this in your image, e.g. water foam or leaves swirling around in the pools at the foot of waterfalls, cloud movements etc.
Other essential equipment
For me there is a couple of other pieces of equipment which is important to ensure a super sharp image, they are;
Tripod is a must have for long exposures for sharp images, and to help reduce the pace and increase attention to detail – that’s how great images are made.
Remote Control/cable release when the exposure time gets longer is is imperative to use either a wireless remote control, cab le release of self-timer to start the exposure to avoid camera shake if one strives for super sharp images.
Lens Cloths or similar to clean of dirt and water from your lens/filter is especially important close to the ocean and waterfalls where stray water spray may hit your front elements.
Final note on filters
It is imperative to use filters that have zero or little color cast which will affect your images, in other words they must be truly neutral, this is especially important for ND and GND filters. NiSi ND and GND filters are absolutely neutral with no color cast and this is the reason why I stated to use NiSi filters, long before they became available in Denmark.
Be creative out there
Michael Molter, NiSi Ambassador
